
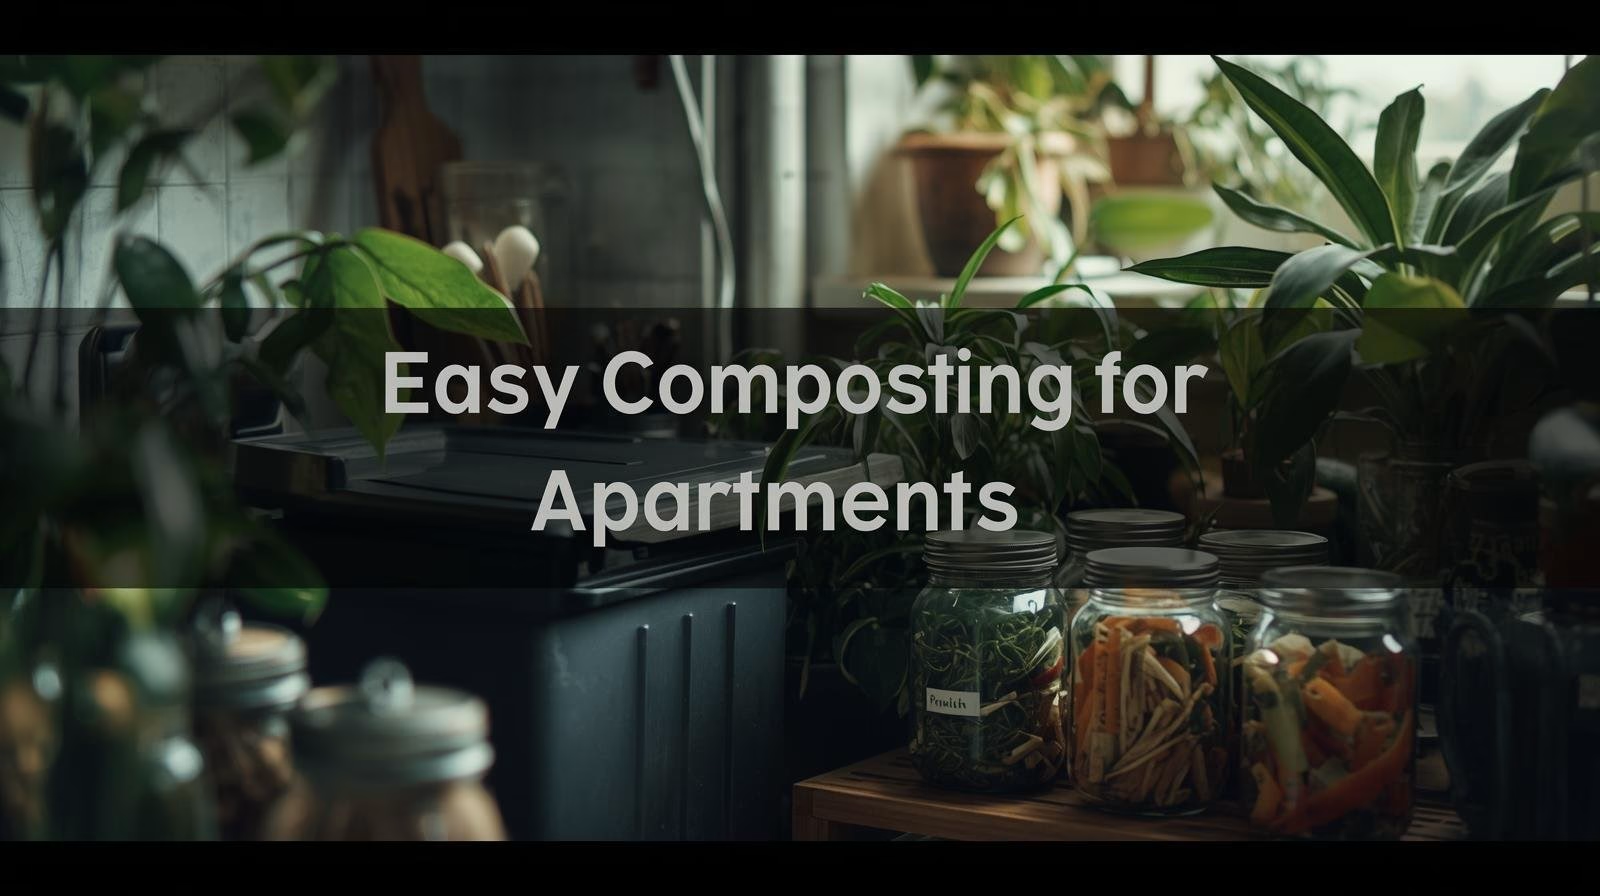

Most objections to composting in an apartment come down to one of three worries: no outdoor space, no tolerance for smell, or no clear idea of what the process actually involves. All three have answers. Vermicomposting — letting red wiggler worms break kitchen scraps down into finished compost — runs in a bin about the size of a small suitcase, works at ordinary room temperature, and produces no real odor when it's maintained properly. The worms do the labor; your only job is managing what goes in. The EPA's guidance on composting at home treats it as a routine household practice rather than a specialist hobby, and in an apartment the worm bin is the version that fits.
What Vermicomposting Is (and Isn't)
A vermicompost bin is three things working together: bedding material (shredded cardboard, coconut coir, or damp newspaper), a population of red wiggler worms — Eisenia fetida, not the earthworms from a garden — and the food scraps you add. The worms eat the scraps and the bedding and leave behind castings: worm manure that is a dense, nutrient-rich soil amendment gardeners pay real money for. Managed correctly, the bin produces almost no liquid, which is the main practical difference from outdoor methods that generate leachate.
The finished product is useful whether or not you garden. It feeds potted plants, makes a genuinely good gift for anyone who does grow things, and can be handed off to community gardens or, in many cities, collected by local composting pickups. Nothing about the process requires a yard, and none of it depends on the seasons the way outdoor composting does.
Setting Up the Bin
A working bin can be as simple as a plastic storage tote in the 10-to-20-gallon range with drainage holes drilled in the bottom and air holes along the sides. Nest that tote inside a second one to catch any drainage, and the basic setup is done. Commercial worm bins with stackable trays cost more — usually $60 to $100 — but make harvesting far easier: as the lower trays fill, the worms migrate up toward fresh food, leaving finished castings behind in the trays below.
Fill the bin about two-thirds full with damp shredded cardboard or coir. The bedding should feel like a wrung-out sponge — moist, never dripping — because that is the medium the worms actually live in. For the worms themselves, 500 grams to 1 kilogram of red wigglers handles the scraps from a one- or two-person household; scale up for more people. Buy them from a worm farm online or, sometimes, a garden center. Don't dig them out of the yard: garden earthworms are a different species and won't survive the conditions inside a bin. Keep a loose-fitting lid on top to hold moisture in and block light — worms burrow away from light, which is exactly the behavior you want, and the lid keeps the surface dark enough that they feed near the top. A spot under the kitchen sink, in a closet, or in a utility room works fine; the bin needs no light and only the modest airflow the side holes provide.
What to Feed and What to Skip
Worms are reliable eaters of fruit and vegetable scraps, coffee grounds along with the paper filter, staple-free tea bags, crushed eggshells (they help neutralize acidity), and plain cardboard. What they can't handle causes most beginner failures: meat, fish, dairy, oily food, and heavily seasoned leftovers break down poorly, attract pests, and turn the bin sour. Onion and garlic in quantity acidify the bedding and the worms avoid them, though small amounts pass through fine. Whatever you add, bury it under the bedding — surface scraps draw fruit flies, buried scraps don't. Chopping or briefly blending scraps before adding them speeds the worms up noticeably, because they work on surface area: a whole apple core takes weeks to disappear, while the same core pulsed in a blender is gone in days.
| Feed freely | Add sparingly | Keep out |
|---|---|---|
| Fruit and vegetable scraps | Citrus peels | Meat and fish |
| Coffee grounds and paper filters | Onion and garlic | Dairy |
| Crushed eggshells | Bread and grains | Oily or greasy food |
| Staple-free tea bags | Acidic tomato scraps | Heavily seasoned leftovers |
| Shredded cardboard and paper | — | Pet waste |
Keeping the Smell Under Control
A healthy bin smells like soil, or like nothing at all — a faint earthy note at most. When it smells off, the cause is usually specific and fixable. Too wet is the most common: excess moisture goes anaerobic and starts to stink, so bury a few handfuls of dry shredded cardboard and stop feeding for a week while the bedding absorbs the excess. Too much food is next — the worms simply can't process faster than they eat. As a rough guide, a kilogram of worms works through about half a kilogram of scraps a day in good conditions, so feed every two or three days and check that the last addition has mostly disappeared before adding more. If meat or dairy slipped in by accident, pull it out physically, add dry cardboard, and restart the feeding cycle. Fruit flies, when they show up, trace back to the same root cause — exposed food — so the fix is the same: bury everything, lay a layer of fresh dry bedding across the whole surface as a barrier, and the population collapses within a week or two without any spray or trap.
Harvesting and Using the Compost
Finished vermicompost looks like dark, crumbly soil and smells like clean earth. It is ready to harvest when the lower third of the bin is mostly castings with few recognizable scraps left in it. In a single-bin setup, push everything to one side, add fresh bedding and food to the empty side, and wait about two weeks — the worms migrate toward the new food, and you lift out the worm-free finished side. If you would rather not wait, there's a faster method: tip the finished bin onto a plastic sheet under a bright light and shape it into several small cones. The worms retreat to the dark center of each cone within minutes, so you scrape the finished castings off the outside, wait, and scrape again until only a wriggling core of worms is left to return to the bin.
Use it as a soil amendment for potted plants, mixing one part compost to three to five parts potting soil, or as a top dressing on pots you already have. A little genuinely does go far here: even a small amount noticeably improves drainage and nutrient availability. For more ways to close the kitchen-waste loop, see these pantry essentials that reduce waste and this zero-waste kitchen starting guide.
What It Costs to Start
A DIY setup — two plastic totes, some cardboard, and 500 grams of worms ordered online — costs under $50 to get going. A commercial stackable bin runs $60 to $100 but streamlines the process enough to justify the price for most first-timers. After that, the ongoing cost is essentially nothing: the worms reproduce to match their food supply, and the bedding is replenished from cardboard you would have recycled anyway. Kitchen scraps are dense and heavy, so diverting them takes a meaningful share of weight out of the household trash — which matters directly if you pay per bag for waste collection.
Maintenance Between Harvests
A correctly set-up bin still needs light, periodic attention — a check every two to three weeks. Look for three things. Moisture: squeeze a handful of bedding, and a few drops is right while a steady stream means it's too wet. Worm position: the worms should gather near the food, not cluster at the bottom or along the walls, which signals a problem that is usually too wet, too acidic, or the wrong temperature. And smell: earthy or neutral is correct, while anything sour or foul means an adjustment is overdue.
Temperature matters more than most guides admit. Red wigglers do their best work between 55°F and 77°F (13°C to 25°C). Below about 50°F their activity slows sharply — a bin left in an unheated garage through a cold winter goes mostly dormant — and above 85°F they get stressed and may try to leave. In most heated apartments, ordinary room temperature keeps the bin in range without any effort, and a basement or utility room that stays cool year-round is often the ideal spot.
Scaling Up, Scaling Down, and Why a Little Goes Far
A single bin with 500 grams of worms handles roughly a quarter to half a kilogram of food scraps a day at peak. Most one-person households produce less than that; most families produce more. The bin self-adjusts — worm populations grow to match a steady food supply and shrink when it drops — so there's no need to calculate a precise starting count. Buy the minimum recommended for your household size and let the worms settle over a few weeks. If scraps start piling up faster than they're processed, add a second bin rather than overloading a stressed one, because overfeeding causes the same sour smell and struggling worms that bad moisture does.
The reason a spoonful of castings outperforms a scoop of conventional fertilizer isn't only nutrient content, though vermicompost is nitrogen-rich. The bigger effect is biological: castings carry a dense community of beneficial bacteria and fungi that improve soil structure, help plants take up nutrients, and suppress some soil pathogens. You're adding a living community, not just a chemical input, which is why a tablespoon worked into a pot keeps feeding it for weeks. Start with one small bin, run it through a single harvest cycle, and the process explains itself faster than any guide can.

Comments
No comments yet.