
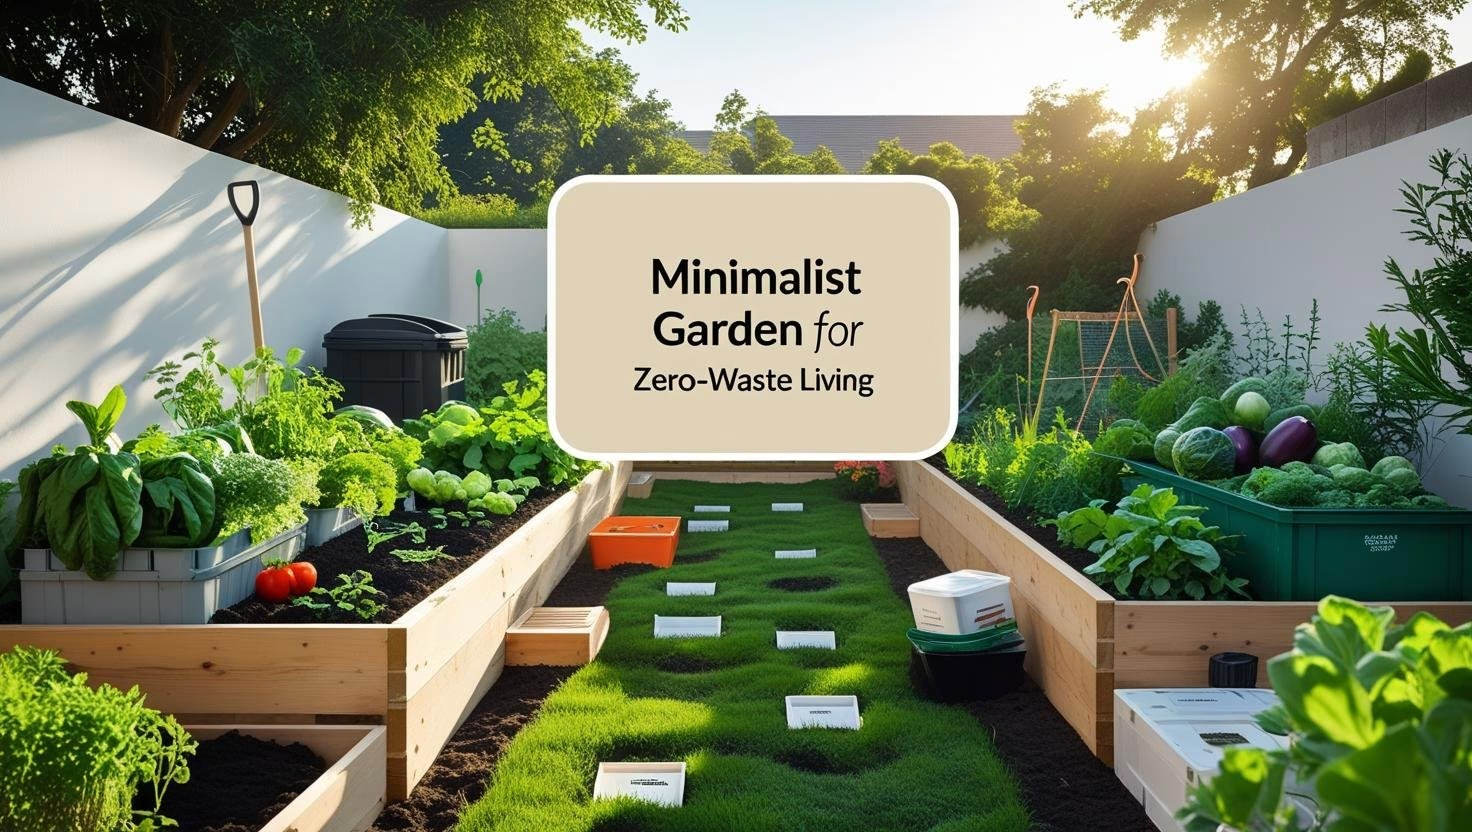

Most gardening advice assumes purchases: soil amendments, matched tool sets, raised-bed kits, seed-starting systems, fertilizer programs, and a shelf of pest products. A minimalist garden inverts that assumption and aims for the most food from the fewest inputs — starting with what's already in the yard, composting what the kitchen throws out, and buying only what genuinely can't be substituted. The zero-waste framing here isn't philosophical, it's practical: a garden that grows food and feeds itself from its own scraps closes a loop that grocery shopping leaves permanently open. University extension services publish free, region-specific versions of nearly every technique below, and their yard-and-garden guides are a better first stop than any product catalog.
Start With What You Already Have
The first step is buying nothing. It's an honest assessment of what exists: soil texture and drainage, how many hours of direct sun the space gets, how far the nearest hose or rain barrel sits, and which tools are already in the shed. Most yards hold more usable growing space than is obvious at a glance. A strip along a fence that currently grows grass converts to a planting bed by sheet mulching — lay cardboard directly over the grass to smother it without digging, cover it with four to six inches of compost, and plant into the compost layer. No kit, no tilling; the grass dies under the cardboard over four to eight weeks while the bed establishes above it.
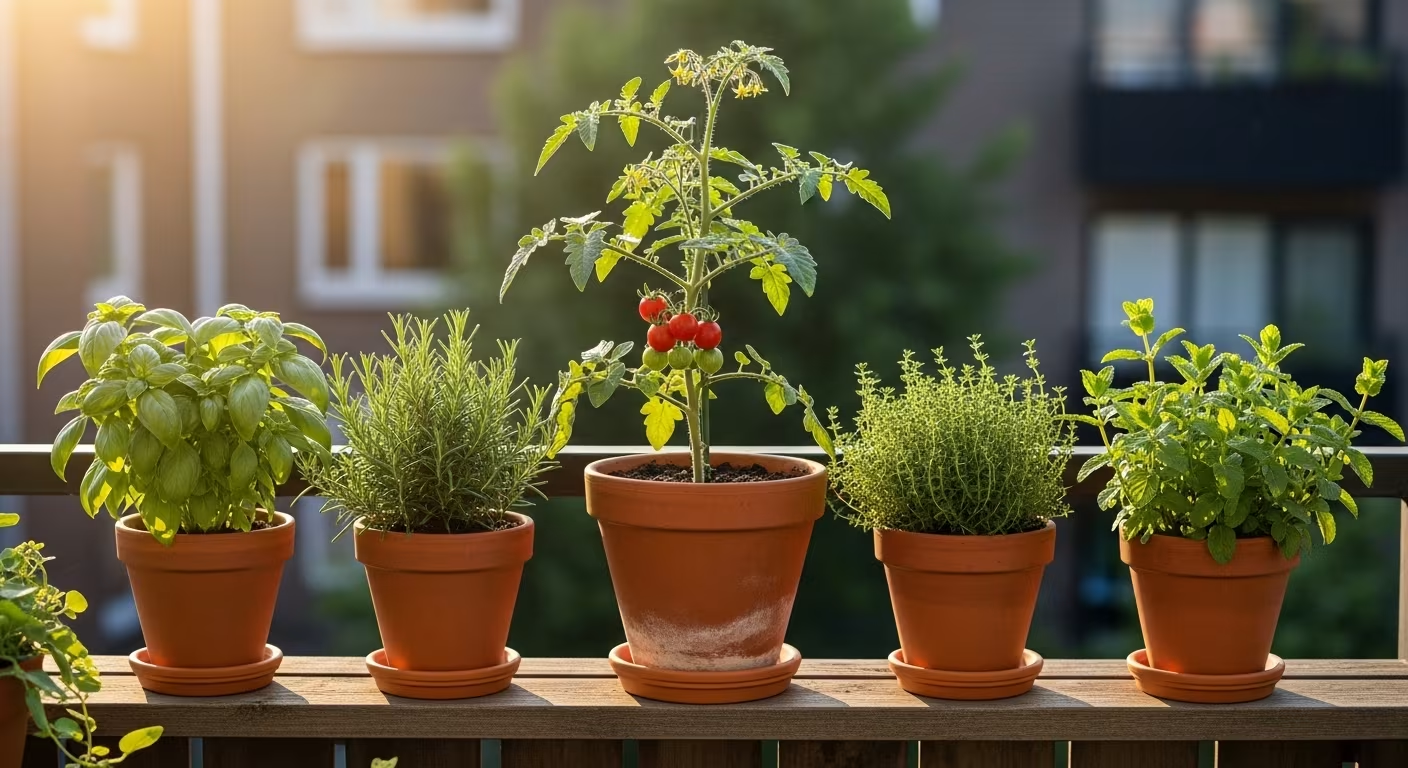
Container growing on a balcony or patio needs no purpose-built planters either. Food-grade five-gallon buckets — free from restaurant supply stores or reused from bulk purchases — grow tomatoes, peppers, eggplant, and herbs perfectly well once you drill drainage holes. Wooden wine crates hold herbs. The container doesn't have to come new from a garden center to do its job, and starting with reused vessels keeps the first-year outlay near zero.
Grow What You Actually Eat
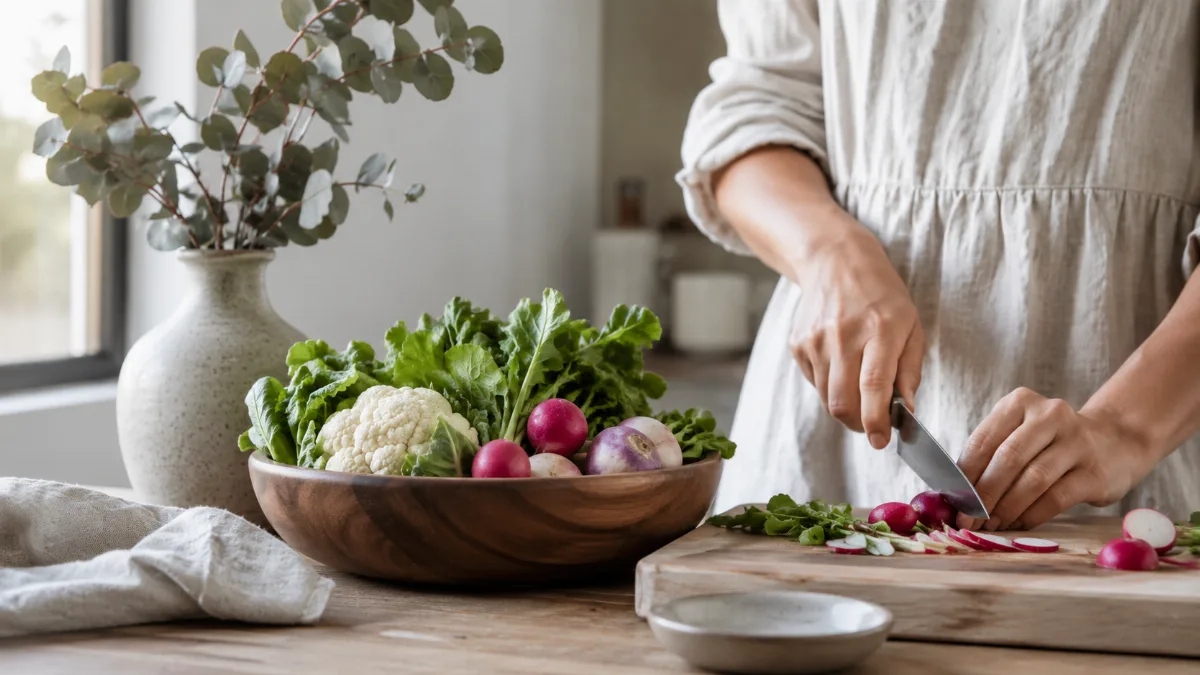
The most common first-year mistake is growing what looks interesting rather than what the household eats. A full bed of decorative gourds isn't zero-waste living; a four-by-eight-foot bed of kale, lettuce, carrots, and a tomato plant is. Before planting, run a quick audit: which vegetables and herbs do you buy every week? Start there. If you buy fresh basil and toss half of it, a single basil plant ends that recurring purchase. If you eat a salad most days, a four-foot row of mixed lettuces erases the salad-greens line on the grocery receipt. The garden earns its keep by replacing what you'd otherwise buy, not by sheer volume.
Some crops return far more value than others for the space and money. Herbs are the clearest win — basil, cilantro, parsley, and chives run $2 to $4 a bunch at retail yet produce continuously from one plant. Cut-and-come-again salad greens like loose-leaf lettuce and arugula crop for months from a single sowing. Cherry tomatoes are prolific, with one plant fruiting across a three-to-four-month season against a retail price of $5 to $7 a pint. Anchor the first garden on these and it pays for itself in weeks.
The Minimal Tool Kit
A working garden needs remarkably few tools, and the ones it needs last decades if bought once and cared for. The genuine short list: a digging spade or fork, a hand trowel, a pair of bypass pruners, a watering can or hose, and a bucket. That covers bed prep, planting, harvesting, and cleanup for a small plot. A hoe helps if you have in-ground rows; a garden knife handles harvesting and dividing. Almost everything else sold as essential — dibbers, specialized weeders, tiered seed trays — duplicates a job these five already do.
Buy tools used where possible. Estate sales, tool libraries, and secondhand listings routinely turn up forged-steel hand tools that outperform new budget versions for a few dollars. A rusty but sound spade cleans up with a wire brush and a sharpening file, and a wooden handle rubbed with linseed oil once a season won't crack. Maintained this way, a single set of tools serves a lifetime of gardens rather than becoming its own slow accumulation of gear.
Composting: Closing the Kitchen Loop
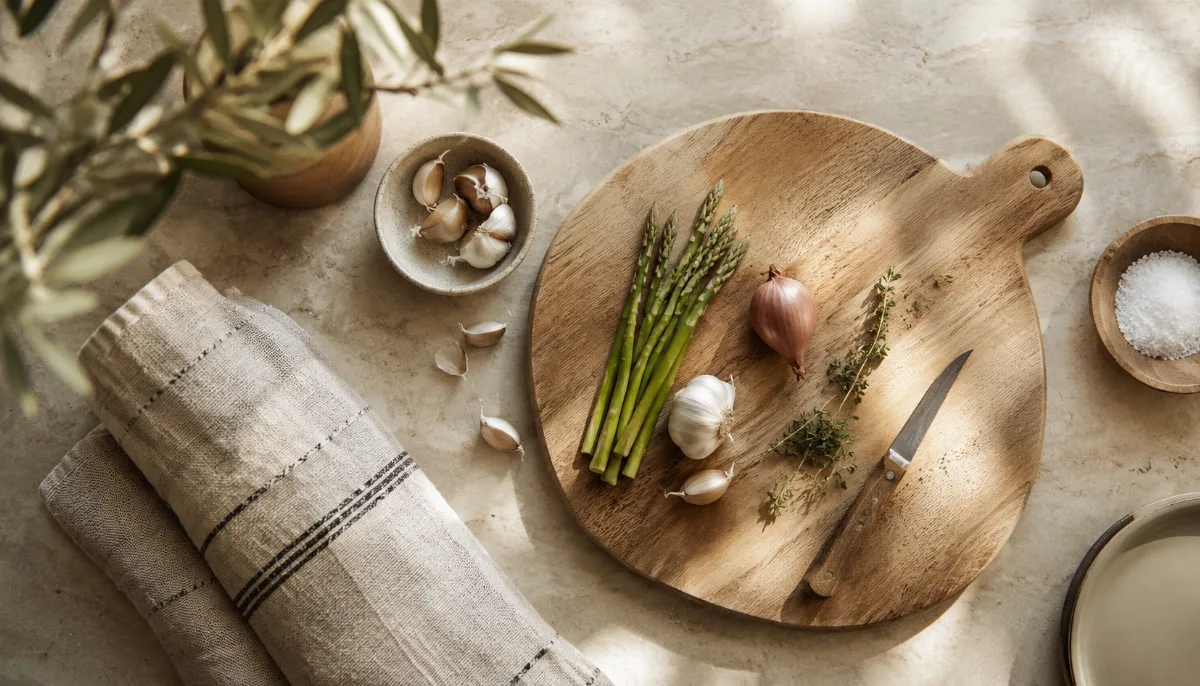
A garden without compost depends on purchased fertilizer; a garden with compost turns kitchen waste into that fertilizer, connecting the two ends of the loop. The working ratio is roughly three parts carbon — dry cardboard, dead leaves, straw, paper — to one part nitrogen — vegetable scraps, coffee grounds, fresh grass clippings. A pile that reeks of ammonia has too much nitrogen; a pile that never heats up or breaks down has too much carbon. The EPA's guide to composting at home lists exactly what to add and what to keep out.
For a small garden, a wire-mesh cylinder about four feet across and three feet tall — made from roughly four feet of hardware cloth joined at the ends — costs under $10 in materials and absorbs the output of a typical household kitchen. More turning and closer attention to the carbon-nitrogen balance produces finished compost faster; less attention produces it slower, but both arrive at the same place. Where outdoor space isn't an option, vermicomposting fits an apartment: a ten-gallon storage bin with holes drilled in the lid and base, stocked with red wiggler worms, quietly processes food scraps into worm castings — a potent soil amendment — with no odor when managed correctly.
Seeds vs. Transplants
Seeds cost far less per plant than transplants and open up far more variety. A packet of 25 to 50 tomato seeds runs $3 to $5 and starts that many plants; a single nursery transplant costs $4 to $8. The trade-off is time and timing — warm-season crops like tomatoes, peppers, and eggplant need starting six to eight weeks before the last frost, while transplants go straight into the ground at the right season. Starting seeds indoors takes light, either a bright south-facing window or a four-foot shop light with full-spectrum bulbs in the $30 to $50 range, which seeds seedlings for many seasons and drops the per-plant cost to pennies once you're established.
Direct-sow crops sidestep the indoor stage entirely. Beans, peas, carrots, beets, radishes, lettuce, and spinach go straight into the garden — open the packet, cut a shallow furrow, sow, and water. These are the zero-overhead crops, ideal for a first season because there's no equipment, no hardening off, and very little that can go wrong.
Watering Without Waste
Overhead sprinkling is the least efficient way to water: much of it never reaches the roots, and wet foliage encourages fungal disease in some crops. Drip irrigation and soaker hoses deliver water straight to the root zone with little surface evaporation and no wet leaves. A basic soaker system — around 100 feet of hose for $15 to $25, run along the rows and connected to a simple timer — automates watering in a small or medium garden, removing the daily time cost of hand watering and cutting water use meaningfully compared with overhead methods.
Rainwater harvesting extends the same logic. A 55-gallon barrel plumbed to a downspout captures a substantial volume during a single rain and gives you a free supply for dry stretches. Most municipalities allow rain barrels and some offer rebates, though it's worth checking local rules before installing one.
Seed Saving: The Perennial Investment
Seed saving removes the annual seed purchase for open-pollinated and heirloom varieties. The method is to let one specimen of each crop go to seed at the end of the season instead of pulling it, then harvest the mature seed when dry and store it in labeled paper envelopes somewhere cool and dark. The easiest crops to start with are tomatoes — scoop the seeds from a fully ripe fruit, ferment them in water for a couple of days to strip the gel coating, then rinse and dry — along with beans and peas left on the plant until the pods are papery, and lettuce, where a few plants left to bolt set seed on the dried flower heads.
Saved seed from F1 hybrids won't come back true to the parent, so seed saving pays off only with open-pollinated and heirloom varieties, which pass their traits reliably to the next generation. Many county library systems also run a seed library, where you borrow seed at planting time and return saved seed at season's end — free access to open-pollinated varieties with no purchase at all, and a natural fit for a garden built to close loops rather than open new ones.
Getting Through the First Season
A minimalist garden compounds. The first year carries the setup — building a bed, gathering a few tools, learning the plot's sun and soil — and returns a modest harvest. By the second year the compost is feeding the beds, saved seed is replacing packets, and the tool kit is already paid for, so each season costs less and yields more than the last. Keep the plot small enough to tend without dread, grow the handful of crops you actually cook with, and let the loop — food out, scraps back in, seed saved for next spring — do the work that catalogs try to sell you. Start this season with a single bed or a few buckets, track what you would have spent at the store on the crops you grow, and let that number decide how much to expand next year.
What earns garden space:
| Crop | Math |
|---|---|
| Herbs | $2–$4/bunch retail vs continuous cutting |
| Cherry tomatoes | one plant fruits 3–4 months |
| Seeds vs transplant | $3–$5 for 25–50 seeds vs $4–$6 for ONE plant |
| Compost bin | wire cylinder ~4 ft across, 3 ft tall |

Comments
No comments yet.