Paper is the category most households treat as temporary and most homes hold onto permanently. The mail pile becomes a desk pile, which becomes a filing drawer, which becomes a box in the closet. Each move was supposed to be a step toward order but was really a step toward long-term storage of things that should have been recycled or scanned months earlier.
The reason paper is hard to manage is structural: it arrives continuously, nearly every piece asks for a decision, and the lazy default is to keep it just in case. A system that interrupts that default at the moment paper walks in the door beats any amount of periodic sorting.
What Actually Needs Keeping
Start by getting clear on which categories genuinely need long-term retention, because most people keep far more than law or practicality requires. The documents worth holding, in physical or digital form, are a short list: tax returns and their supporting records — commonly kept around seven years, though you should check the rule for your own jurisdiction — property documents for anything you currently own, active insurance policies, medical records that may matter for future care, and legal papers such as wills, contracts, and court orders.
Almost everything else can go without consequence: bank statements older than a year, utility bills, receipts for expired warranties, manuals for devices you no longer own, old pay stubs once the tax year is closed. The volume of paper people keep "just in case" dwarfs what is actually needed, and naming the real keep list up front makes the rest of the project fast.
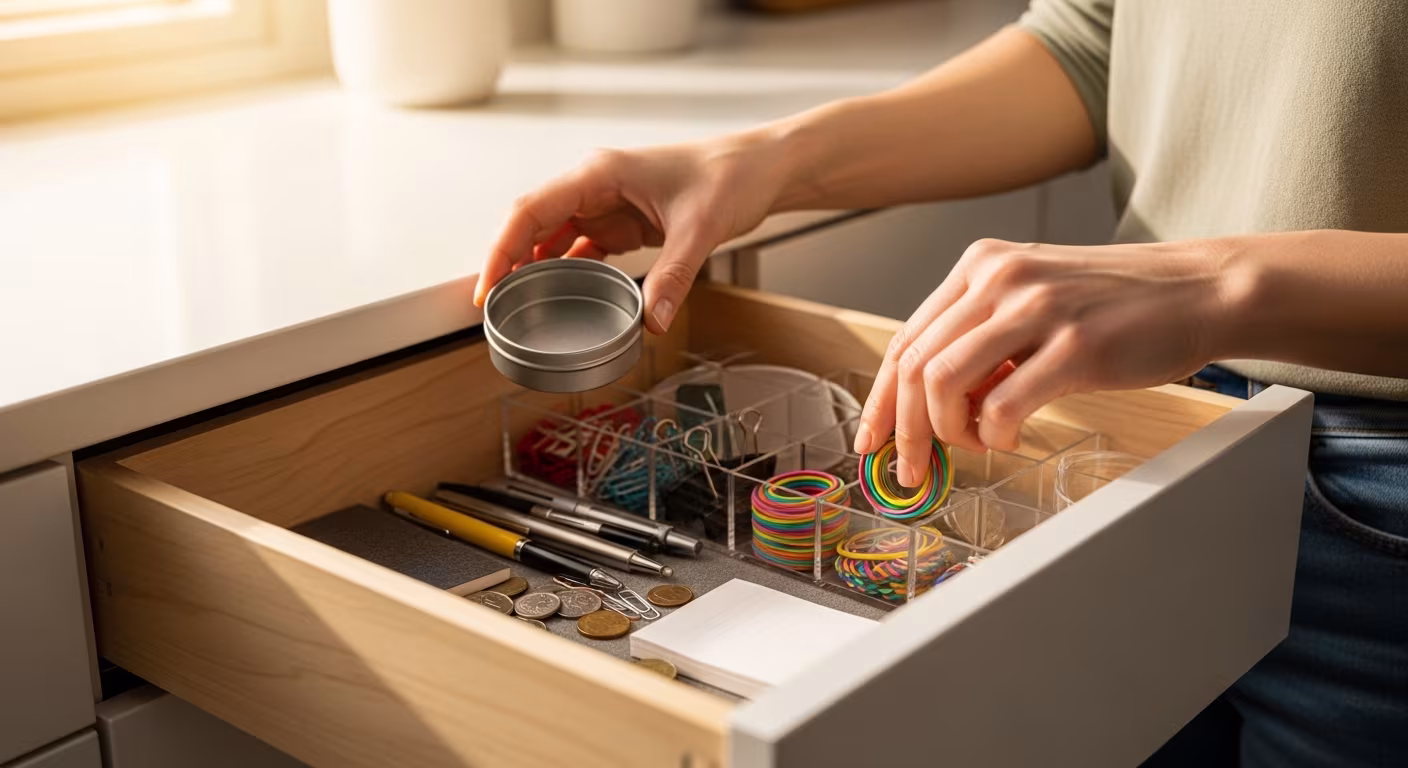
The One-Time Sort
Sorting the accumulated backlog is the part people put off for years, because the volume looks overwhelming before they begin. In practice a full box of household paper usually sorts in under two hours, because most of it is obviously discardable within two seconds of looking at it. The junk mail, the expired offers, the three-year-old utility statements — none of it survives a moment's honest attention.
Work through the pile fast with a single question per item: is there a realistic scenario where I would need this specific document? Not "might this be useful someday" in the abstract, but this exact paper, in this form, for a concrete situation. Sort into three stacks as you go: shred, for anything carrying personal identifying information; recycle, for anything without; and keep-or-scan. The keep-or-scan stack almost always turns out to be a small fraction of where you started — often a folder's worth out of a full box.
Scanning What You Retain
For the keep-or-scan stack, digitizing produces a searchable, backed-up copy that takes zero physical space. A phone scanner app produces perfectly usable PDFs for the vast majority of documents. A dedicated flatbed scanner gives higher quality where image clarity genuinely matters — photographs, architectural drawings — but ordinary paperwork scans fine from a phone in a few seconds per page.
The file naming convention matters more than the scanning tool. A file called "tax-return-2024.pdf" is findable in ten seconds; one called "scan0047.pdf" has to be opened to identify, and a folder full of those is its own kind of clutter. Pick a consistent pattern — document type, year, short description — and the archive stays usable without any separate index. Cloud backup is the non-negotiable part. The entire point of digitizing is a copy that survives a flood, a fire, or a dead hard drive, and a single un-backed-up file on one laptop is no more resilient than the paper it replaced. Automatic backup from any major service handles this with no ongoing effort.
Stopping New Paper at the Source
The one-time sort only helps if new paper does not quietly refill the space. Every piece that arrives should get one of three immediate fates: act on it now, scan and recycle it, or recycle it on the spot. The intermediate state — "I'll deal with this later," set down on a counter — is exactly where the pile restarts.
Cutting the inflow does more than any sorting habit. Most banks, utilities, and insurers offer paperless statements, and a single thirty-minute session switching every account to electronic delivery removes the largest category of recurring paper before it ever reaches the mailbox. That one afternoon pays off every month afterward, because the statements that used to demand a decision simply stop coming.
What to Shred and Why

Documents with personal financial information should be shredded, not tossed in the recycling. A name paired with an account number and address is enough to enable identity fraud, and that information survives perfectly intact in discarded mail that anyone can reach.
The categories that warrant shredding: bank and credit card statements showing account numbers, pre-approved credit offers, medical billing documents, and any paper pairing a full name with a financial account or government ID number. A cross-cut shredder — one that cuts in two directions rather than producing long strips — is meaningfully harder to reassemble than a strip shredder, and it is the right choice for financial documents. For the occasional sensitive page, a permanent marker over the account numbers is a workable stopgap, but a shredder is the real answer for any regular volume.
The Physical File for What Cannot Be Digitized
Some documents warrant keeping on paper: originals of legal documents, anything needing an original signature, and items that may have to be presented in original form. For these, a simple system does the job — one folder per category (tax, property, insurance, medical, legal), all stored in a single location, reviewed once a year. Much of this echoes Washington State University Extension.
That annual review is what keeps the physical file slim. Documents past their retention period leave; tax paperwork older than the applicable window goes to the shredder. What remains is only what is current and necessary. A lean physical file plus a complete, cloud-backed digital archive is more secure, more searchable, and far less space-hungry than a bulging filing cabinet — which is the practical case for going as digital as your household's document types allow, rather than chasing a paperless ideal that a few originals will always break.
The Digital Pile Mirrors the Paper One
Advice about going paperless usually stops at physical documents and ignores the digital accumulation that mirrors it. An inbox with twelve thousand messages, a downloads folder holding years of unsorted files, and paperless statements saved in no particular place are the digital equivalents of the counter pile — and they grow the same way, for the same reason.
The same principles port over directly. Build a folder structure with a small number of named categories that mirror the physical file. Run a quarterly pass through the downloads folder, discarding what no longer needs keeping. Set up email filters that route known senders automatically instead of letting them land in the inbox. An inbox used as a filing system is the digital version of the paper pile: actionable items tangled up with reference items until none of them are clearly either.
Dealing With Accumulated Receipts
Receipts accumulate more invisibly than anything else — in wallets, bags, coat pockets, kitchen drawers, and car consoles — and they have the least reason to be kept long-term. The ones worth holding are for items under active warranty that you might return or claim against. Everything else is a historical record with no practical use.
A monthly receipt purge, run at the same time as the monthly bill review, empties wallet and bag before the slow drift turns either into an archive. For the few receipts worth retaining, a photo covers most warranty and return purposes and takes no space at all. The paper original for a major appliance under manufacturer warranty is worth filing in the relevant property or insurance folder; the everyday grocery and coffee receipts are not, and clearing them monthly keeps the whole system from silently clogging again.