Craft rooms and creative spaces accumulate clutter differently from other rooms. The items in them are not just objects: they are supplies for projects, materials for future making, and remnants of past creative work. The emotional relationship with craft supplies is often strong enough that ordinary decluttering logic ("have I used this in six months?") feels like it is asking the crafter to abandon their creative potential along with the physical items.
The craft room sort is more effective when it distinguishes between active creative interests, genuinely planned future projects, and creative interests that have passed.
Sorting by Active Interest
The most useful organizing principle for a craft room is not the type of supply (all yarn together, all paper together) but the active interest level of the crafts they support.
Active current interests: the craft being practiced regularly, the project currently in progress, the supplies being used consistently. These are the items that deserve the best storage: most accessible, most organized, most visible.
Planned future projects: supplies purchased for a specific project with a realistic timeline. A yarn purchased for a specific sweater pattern, with a reasonable plan to start within three months, is a planned future project. The fifteen skeins of yarn bought "for someday" without a specific project in mind are a different category.
Past interests: supplies for a craft that was practiced in the past but is no longer active. Watercolor supplies from a painting phase three years ago, scrapbooking supplies from before digital albums became the format of choice, tools for a technique that was tried and not continued. These are the clearest candidates for release.
The Honest Someday Assessment
The hardest category in any craft room sort is "I will use this someday." The honest someday assessment asks: is there a specific project in mind, with a realistic timeframe, that requires this material? Or is "someday" a holding category for items that feel too potentially useful to release?
The distinction matters practically: supplies stored "for someday" without a specific project occupy storage space indefinitely. Supplies with a specific planned use have a timeline and will either be used or reassessed when the project timeline passes.
The crafter who regularly finishes projects will have a predictable relationship with their "someday" supplies and knows roughly when those supplies will be used. The crafter whose unfinished projects outnumber finished ones may find that the "someday" pile contains creative optimism rather than realistic plans.
Unfinished Projects
Unfinished projects are a specific craft room category that requires its own honest assessment. An unfinished project is not a failure and does not need to be completed simply because it was started, but a storage space full of unfinished projects from years past is a storage space full of obligations rather than creative potential.
The assessment for each unfinished project: is this actively planned for completion, with a realistic intention to work on it in the next few months? Or has it been in the "unfinished" category across multiple seasons without being worked on? An unfinished project that has not been touched in two years is functionally a completed project: the creative experience of starting it has already occurred, and the remaining work is not something the crafter is choosing to do.
Releasing unfinished projects (donating the supplies or materials if they are in good condition, discarding if not) is not abandoning creativity; it is clearing the creative space for current and future work rather than storing the evidence of past beginnings.
Selling or Donating Craft Supplies
Craft supplies are often bought in quantities that exceed any realistic project need and at prices that make their disposal feel wasteful. Selling surplus craft supplies through Marketplace, Etsy shops for craft supplies, or craft swap groups recovers some of the purchase cost and directs the supplies toward someone who will use them rather than a landfill. High-quality craft supplies (quality yarn, fabric, specialty paper, art-grade paints and tools) often sell at a reasonable proportion of the original price.
Donation to schools, community centers, art programs, or maker spaces directs surplus supplies toward active use by people who can benefit from them. The craft store in the local school art room is not too proud to receive quality donated supplies; a phone call or email to inquire is usually all that is needed.
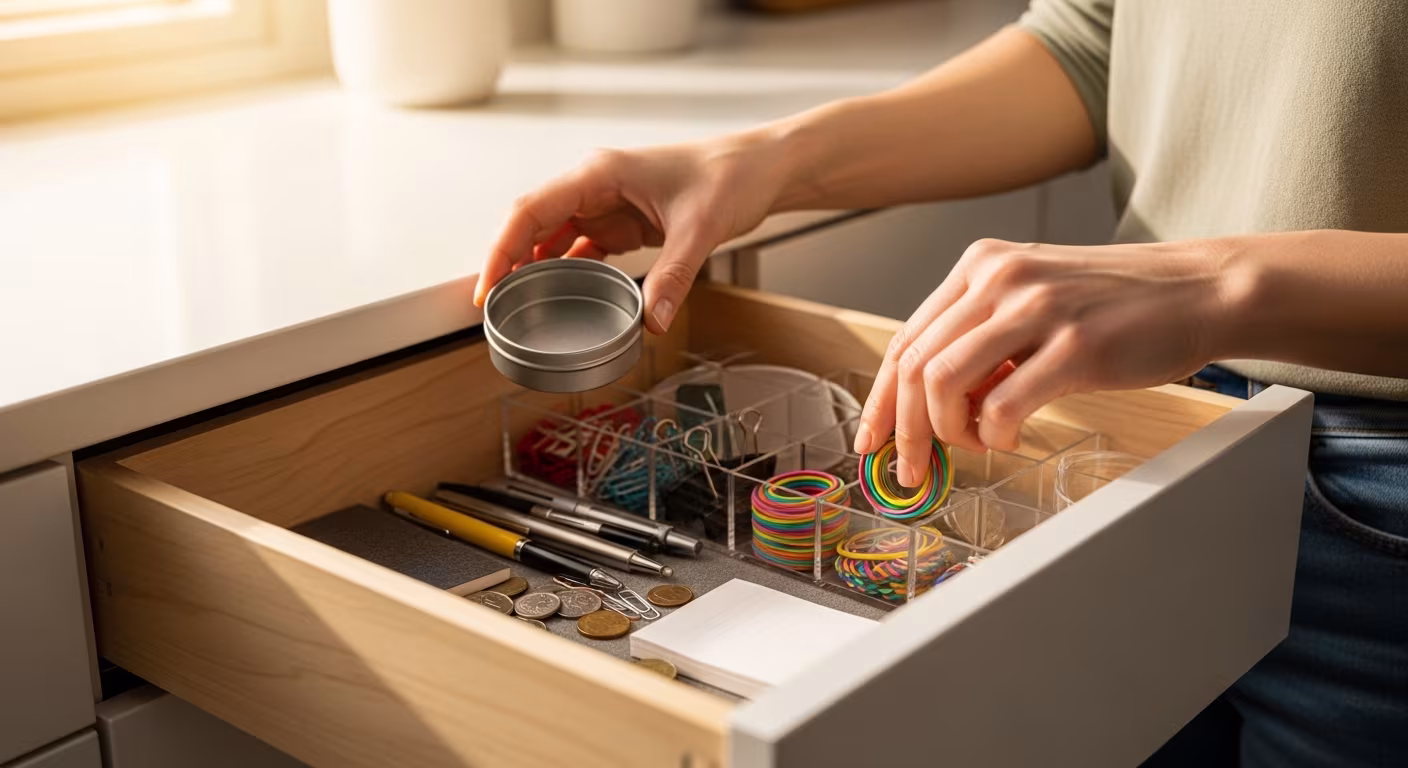
Organizing What Remains
After the sort, organizing the remaining supplies by active interest makes the most accessible storage available for the most-used items and relegates planned-but-not-current items to secondary storage.
A craft room organized by project and interest rather than by supply type is easier to work in because everything for the current project is together in one location rather than distributed across the organization of the broader supply collection. The active knitting project has its yarn, needles, pattern, and notions together in one project bag or bin; the active painting supplies are at the primary work surface; the planned future project supplies are stored but labeled and accessible when needed.
The Physical Organization After the Sort
After a craft room sort that removes past-interest items and unfinished projects without realistic completion plans, the physical organization of what remains typically takes one of two forms: organization by project, or organization by material type.
Project-based organization, where everything for the active knitting project is together and everything for the active watercolor practice is together, is more practical for the crafter who works on one project at a time. Everything needed is in one location and moves with the project if the work location changes.
Material-based organization, where all yarn is together, all fabric is together, and all paper is together, is more practical for the crafter who works in one medium consistently and pulls materials for new projects from a well-organized material collection. Either approach works; the choice depends on how the crafter actually works rather than which system looks more organized in theory or in photographs of idealized craft spaces.
Preventing Future Accumulation
The craft room that has been sorted will re-accumulate if the purchasing patterns that produced the original accumulation continue. The most effective prevention is a waiting period before buying new supplies: a thirty-day wait between identifying a wanted supply and buying it filters out impulse purchases that produce "I'll use this someday" accumulation. Supplies still wanted and genuinely needed after thirty days are worth adding; supplies forgotten within a few days were impulse additions the craft room did not need and would not have used within any realistic timeframe given the crafter's actual project pace.