The Problem With Whole-Home Decluttering Sessions
The impulse to declutter the entire home in a single weekend is understandable: the problem feels urgent, the motivation is high, and a complete reset sounds more satisfying than a partial one. The reality is that whole-home sessions almost always stall. The sheer volume of decisions required over many hours produces decision fatigue; the half-finished state of multiple rooms looks worse than the original cluttered state; and the session ends with the home in temporary disarray rather than improved order.
The focused approach, one room, one session, completed before moving to the next, solves all three failure modes. A single room produces a manageable number of decisions. A session that finishes one complete room looks better when it ends than when it began. And the next session has a defined scope rather than an overwhelming continuation of a large unfinished project.
Defining a Room for This Purpose

A room, for the purpose of focused decluttering, is any space that can be meaningfully sorted in a single two-to-four hour session. For most rooms (a bedroom, a bathroom, a living room) this is the physical room itself. For larger or denser spaces (a garage, a basement, a home office with years of accumulated material) a single section of the space may be the appropriate scope for one session.
The rule of thumb: define the session scope so that it can be genuinely completed, not merely started, in the time available. A session that ends with the space in better order than when it began is a success. A session that ends with the space in visible disarray, items pulled out and not yet sorted, is demoralizing regardless of how much work was done.
The Physical Process for a Single Room
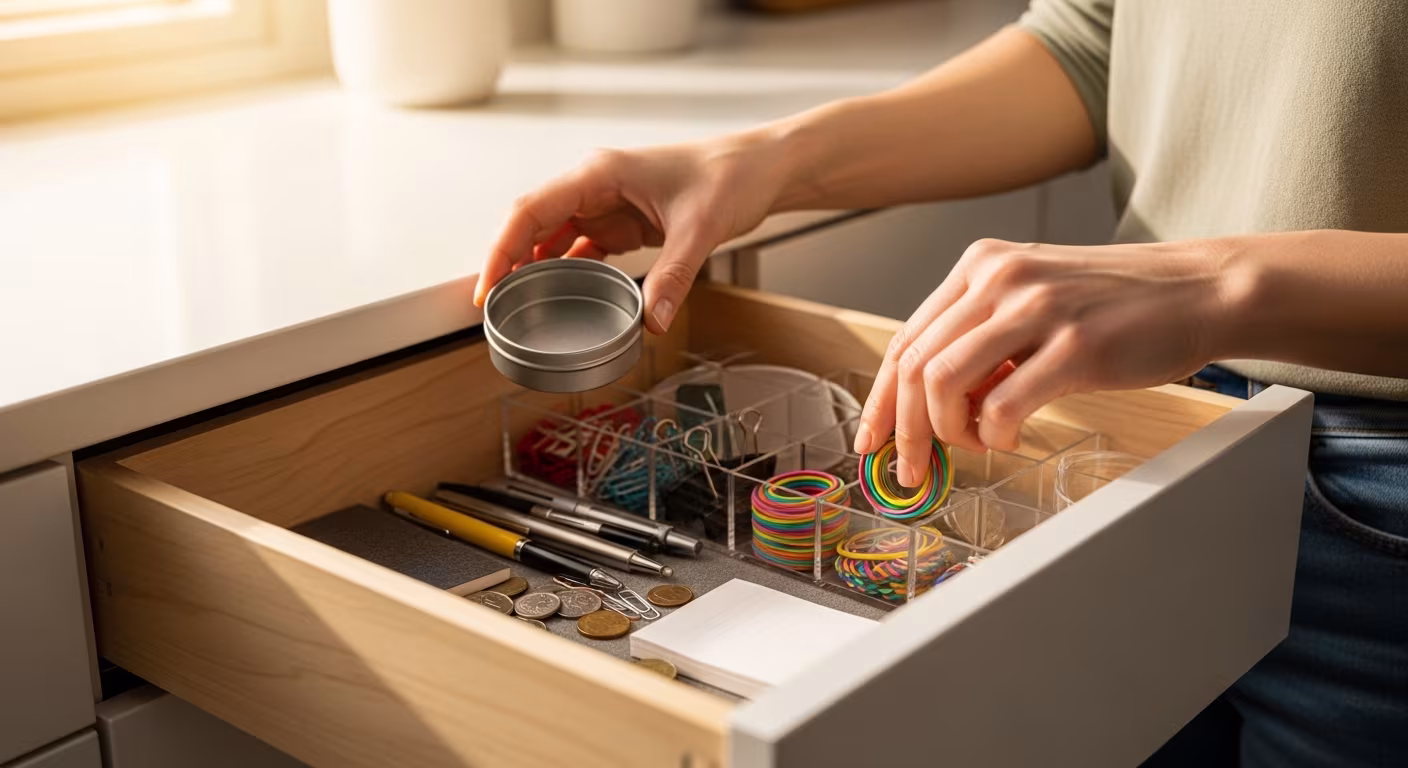
The most effective physical process for a single-room session follows a consistent sequence: remove everything from a contained area (a drawer, a shelf, a section of the closet), sort what was removed into keep, release, and relocate, return the keep items to the space in an organized arrangement, and move to the next contained area. Working through the room in contained sections rather than all at once prevents the avalanche of a complete room emptied at once.
Each category decision (keep, release, relocate) should be made at the point of sorting rather than deferred. Items moved to a "decide later" pile almost always get returned to storage without a real decision. The "decide later" category is where decluttering stalls. Making the decision on first touch, even if the decision feels difficult, produces a faster and more honest result.
What to Do With Released Items
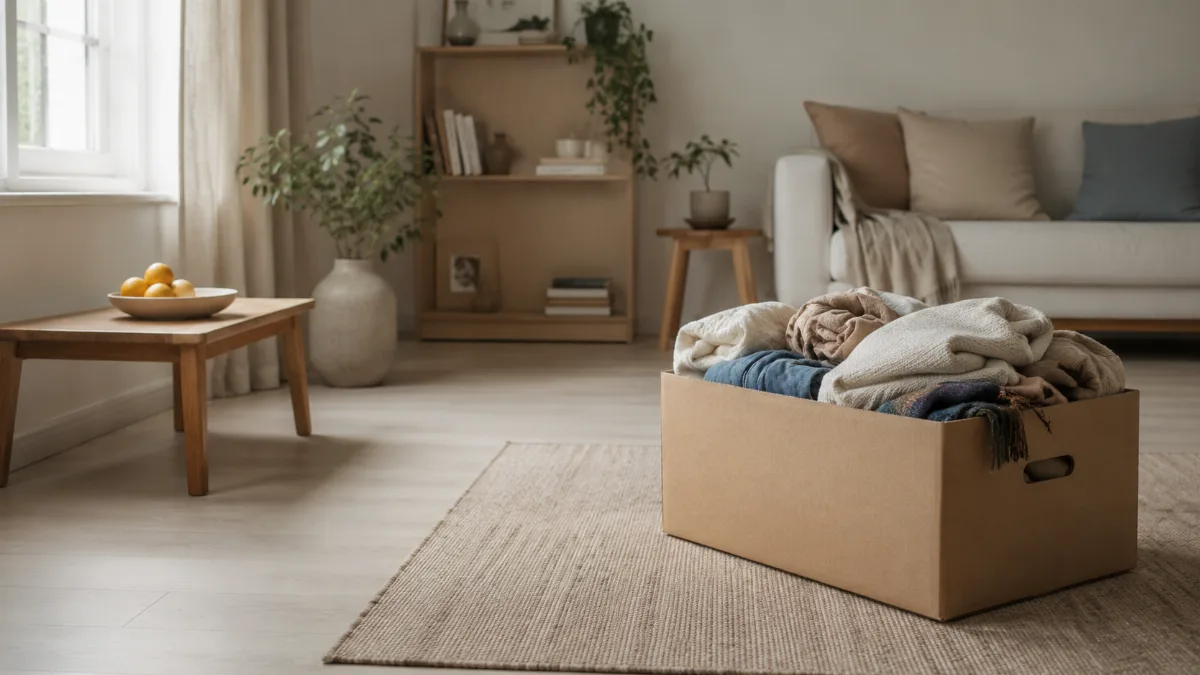
Having a release plan before the session begins removes a significant friction point. Knowing that released items go into one bag for donation and one bag for discard, and that the donation bag goes into the car at the end of the session, prevents the release pile from becoming a staging area that sits for months.
The most effective donation approach is the car-trunk system: released items go directly into the car, where they are physically out of the home and available to drop off at the nearest donation location without a separate trip decision. Items that live in a donation box in a spare room tend to sit much longer than items in the trunk of a car, where they create a small daily prompt toward completing the drop-off.
Building From One Room to the Next
The momentum of a completed room is the most reliable motivator for the next session. The kitchen that is now organized and clear communicates to the household that the effort produces a real result, which lowers the activation energy for the next session. Each completed room reduces the scope of what remains and provides a visible, functional reminder of what the process produces.
Scheduling the next session before the current one ends, deciding at the end of Saturday's kitchen session that next Saturday will be the bedroom, converts momentum into commitment. The household that schedules sessions in advance completes more rooms than one that leaves the next session unscheduled and relies on motivation to arrive organically.
Communicating With Other Household Members
Decluttering in a shared household requires communication and coordination that solo decluttering does not. Items belonging to other household members cannot be released without their input; sessions that affect shared spaces need to be scheduled with other members' involvement.
The most effective approach for shared spaces is to schedule the session as a joint activity, with each household member responsible for their own zone within the space, and shared items assessed together. This prevents the resentment that comes from unilateral decisions about shared possessions and builds the household-wide habit of regular assessment rather than positioning one person as the decluttering authority and others as subjects of the process.
Preventing Reversion After the Session
The most common post-decluttering frustration is watching a cleared space gradually refill. The reversion happens through the same mechanism that created the original clutter: items come in without a designated place, get set down temporarily, and accumulate into the next layer of clutter.
Preventing reversion requires two practices. First, every item in the newly organized space has a designated location (a specific drawer, shelf, or bin) so that items can be returned to place without a decision. Second, new items entering the space are assessed at the point of entry: does this have a place, and does it belong in this room? Items that do not pass this assessment either go somewhere else or do not enter the home. See our guide to the one-in, one-out rule for the specific habit that keeps each completed room from reverting over time.
The Schedule That Keeps Sessions Completable

The focused session approach requires realistic scheduling. A two-hour slot on a Saturday morning produces a completable kitchen sort. A vague plan to work on the house this weekend produces a session that starts in one room, migrates to another, and finishes nowhere. The session that has a defined room and a defined time block produces a defined result.
For households where weekend time is limited, even a single hour applied to one drawer, one cabinet, or one section of a room produces a completable result. A kitchen sorted one cabinet at a time over four sessions is a fully sorted kitchen.
When to Move to the Next Room
The right time to start the next room is when the current room is genuinely finished, not merely started, not underway, but done: every item sorted, every kept item in its place, the donation bag out of the home. Moving to the next room before the current one is finished splits attention and produces the half-finished state that makes the process feel unmanageable.
If the current room's sort reveals items that belong in another room, relocate them at the end of the session rather than following them into the next room mid-session. The discipline of completing the current room before beginning any other is the specific practice that makes focused decluttering different in outcome from whole-home decluttering.