A garage declutter attempted in afternoon without preparation tends to produce a garage that looks worse than when it started — items pulled out, partially sorted, and then piled back in because time ran out. A garage cleared in a single Saturday is a different project: one with a clear method, some preparation done in advance, and ideally an extra set of hands.
The difference is not the amount of motivation — it is the system used and the preparation that happens before the day starts.
Preparation the Week Before
The single-Saturday garage clear works because specific preparation reduces the decision burden on the day itself. In the week before the session:
- Reserve a skip or schedule a council collection if large items or significant general waste will need to go. Finding out mid-session that large items cannot be disposed of that day kills the momentum.
- Alert charity shops or arrange collection for items you know will be donated. Some organizations collect large items for free; confirming this in advance means donations leave on the same day.
- Arrange for help — one or two other people make the physical work of moving items significantly faster and provide a second opinion on genuinely uncertain items.
- Clear the driveway or an adjacent flat space where everything can be pulled out and sorted.
The day-before preparation takes an hour and determines whether the Saturday session can be completed or runs out of time and steam.
The Pull-Everything-Out Method

The most effective approach for a garage that is genuinely cluttered is to pull everything out onto the driveway or available flat space before sorting anything. This sounds counterintuitive — it creates more apparent chaos before creating order — but it is significantly more effective than sorting in place.
Sorting in a cluttered garage means sorting while standing inside the clutter, reaching over items to assess items behind them, and inevitably moving things around more than deciding anything. Pulling everything out places every item on a visible flat surface where it can be assessed without obstruction and where the garage itself can be swept and assessed before anything goes back in.
The total time for the pull-out phase is typically one to two hours for an average garage with two people working. Once everything is out, the sorting phase can begin on the cleared driveway.
The Sorting Framework
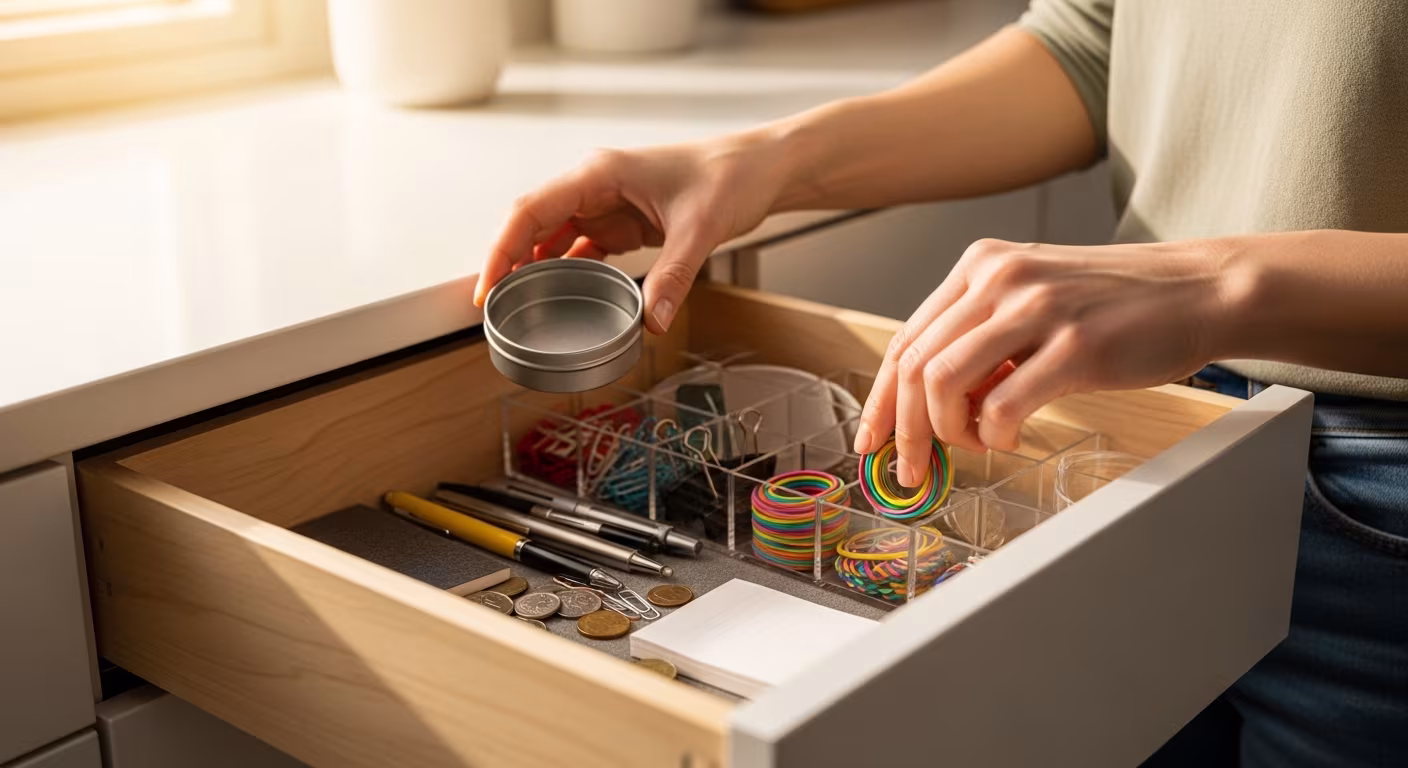
With everything visible, sorting into four categories — keep, donate, sell, and trash — follows the same logic as the four-box method but at garage scale. For a single-day session, the sell category should be realistic: items of genuine resale value can be set aside and listed later, but the session should not be slowed by extensive valuation or sorting by resale potential. Better to donate items of uncertain value than to have them remain unsorted when reviewing the sort.
The questions for each item: Does this belong in the garage? Has it been used in the past two years? Is it in functional condition? Would it be bought again if it were lost? Items failing these questions are candidates for the donate, sell, or trash categories.
What Goes Back In — and Where

The items returning to the garage should be organized by zone before they go back in: tools together, sports equipment together, garden supplies together, automotive items together. The zone layout should match how the garage is used: items accessed most frequently go in the most accessible positions; seasonal and rarely-used items go in overhead or back storage.
Anything that was in the garage by default but belongs somewhere else in the home — kitchen items that migrated to the garage, clothing stored there for lack of space, household items that ended up there without a clear reason — should go back into the home to its proper location rather than back into the garage.
Cleaning Before Restoring

With the garage empty, a sweep and a wipe-down of shelves takes thirty minutes and produces a garage that feels genuinely sorted rather than just rearranged. The floor mopped or swept, shelves wiped, any cobwebs cleared — this step costs time but changes how the restored garage feels and makes it easier to maintain afterward.
Items going back in go back to their zones in a way that will be findable. Labeled bins for small items, tools on hooks or shelving rather than in piles, and clear floor lanes make the difference between a tidy garage that stays tidy and one that drifts back to chaos within months.
Maintaining the Result
The Saturday declutter produces a garage that works. Maintaining it requires one habit: returning items to their zones rather than dropping them at the nearest clear space. The zone system makes this possible; the habit makes it stick. An annual review — even a thirty-minute pass to verify that zones are working and nothing has accumulated outside them — prevents the Saturday project from needing to be repeated from scratch.
Dealing With Sentimental Items in the Garage

Garages accumulate sentimental items alongside the practical ones: the bicycle that belonged to a child who is now grown, the sports equipment from a previous era of the household's life, inherited items that came with the family home. These items are often the reason the garage sort gets abandoned — the practical items are easy, the sentimental ones are not.
The most useful approach to sentimental garage items during a single-day sort is to set them aside in a specific location and make a follow-up date to address them separately, rather than allowing them to halt the session's momentum. The practical sort can be completed without making every sentimental decision on the same day. The follow-up date needs to be actual rather than vague — a specific Saturday three weeks later — or the set-aside box will become the permanent home of the deferred decisions.
Preventing the Garage From Refilling
The garage that fills with clutter over years typically does so through the same mechanism that produced the clutter in the first place: the path of least resistance for items without a clear home is the garage. The sorted garage requires a different default: items without a clear home need a decision about whether they stay (and where) or leave, rather than defaulting to the garage floor.
One practical enforcement tool: after the sort, any empty floor space in the garage should remain intentionally empty. Empty floor space is not a storage opportunity — it is the sign of a garage that has been sorted. Items appearing on the floor without a zone allocation trigger the question of where they belong rather than acceptance as the new normal.