Why Open Shelving Fails in Most Homes
Open shelving is one of the most divisive design choices in home organization. Designers love it for the airy, accessible quality it brings to kitchens and living spaces. Homeowners often find it more stressful than the closed cabinets it replaced, because open shelving makes every item on it permanently visible, which means any accumulation or misplacement is always on display.
The shelf that looks calm and considered in a design photograph is typically holding six to twelve items arranged with significant negative space between them. The same shelf in a real home, after a few months of use, often holds thirty to forty items because it is accessible and the items need somewhere to go.
The solution is not to replace open shelving with closed cabinets. It is to treat open shelving as display space rather than storage space, which means being significantly more selective about what goes on it.
The Amount Rule
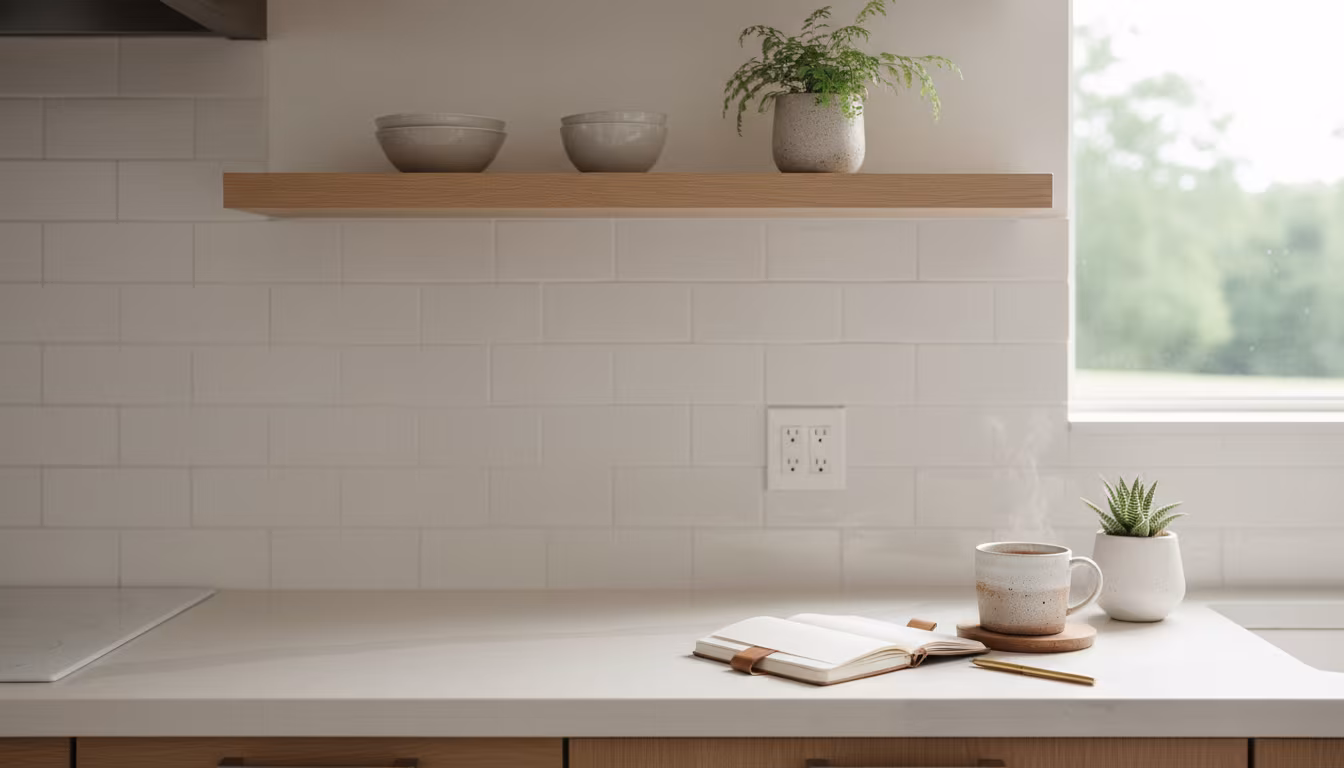
The most reliable guideline for open shelving: put no more than 40 percent of the shelf's capacity on it. On a shelf that could technically hold twenty items, put eight. The space between objects is not wasted space; it is the visual breathing room that makes the shelf read as curated rather than crowded.
This rule is harder to follow than it sounds because the instinct when you have a shelf is to use it for storage, and the storage impulse fills available space. Applying the 40 percent rule means some items that would logically go on the shelf need to go elsewhere: in a cabinet, in a drawer, or out of the household entirely.
The result justifies the constraint. The shelf that holds eight thoughtfully placed items looks considered and calm. The one holding twenty looks like overflow.
What Actually Works on Open Shelves
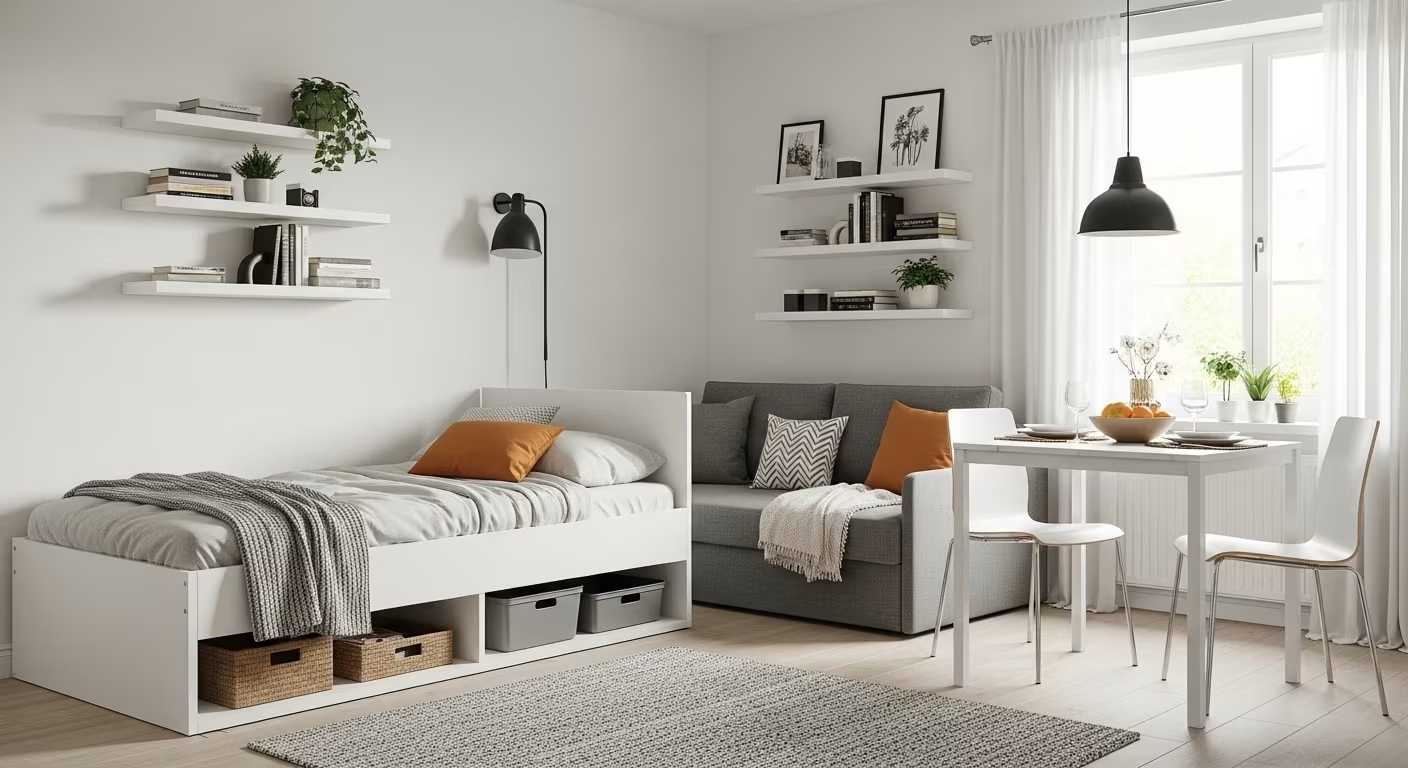
Items that work on open shelving share a few characteristics: they are used regularly enough to warrant accessibility, they look good or at least neutral when visible, and they are consistent in scale, material, or color with the other items on the shelf.
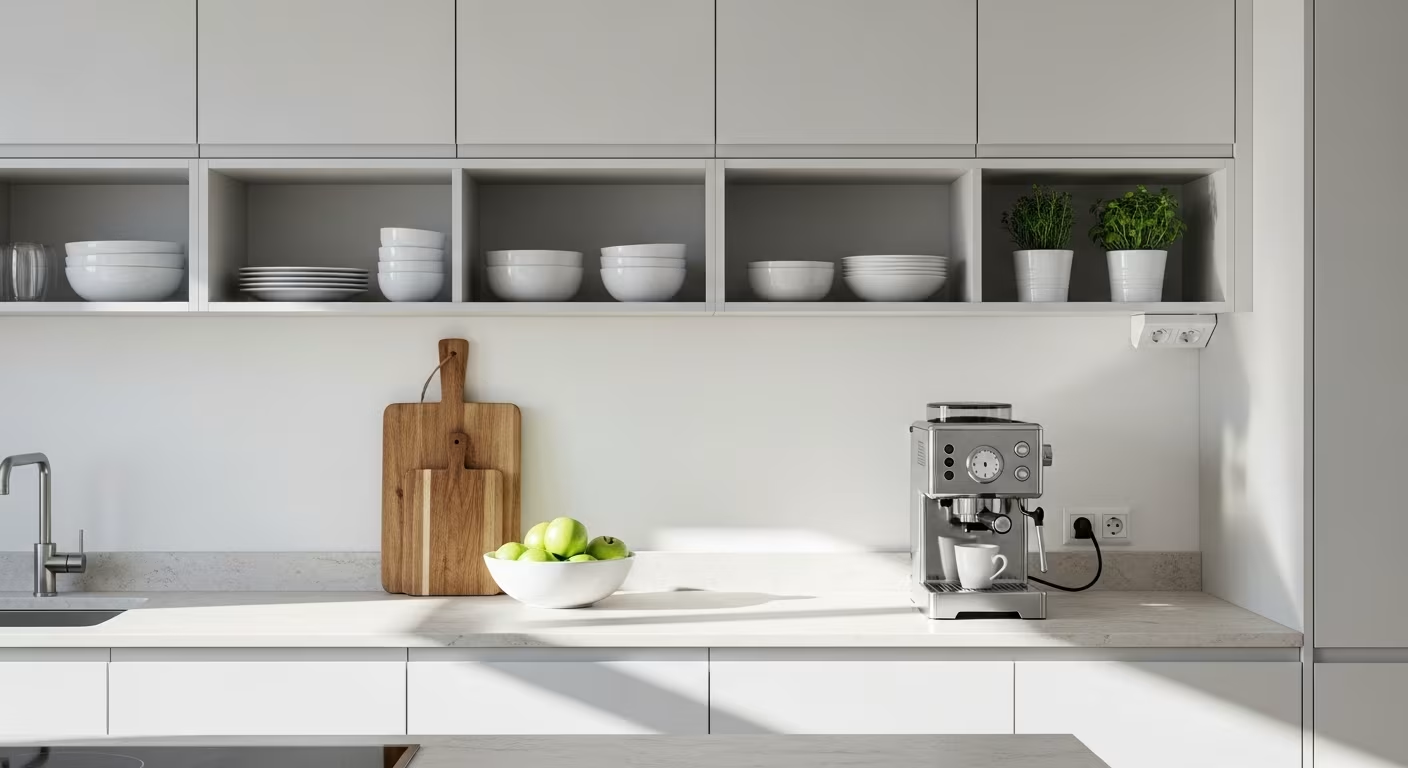
In kitchens, the items that work are typically: a small number of frequently-used dishes stacked neatly, a collection of glasses arranged by type, a plant or two, and one or two objects that are genuinely attractive. Items that do not work on kitchen open shelves: mismatched containers, appliances, cleaning products, random small items that have accumulated, and anything that is visually busy or that requires regular rearranging to look acceptable.
In living rooms, open shelving works for a curated book collection with consistent spine colors, a few objects with visual interest, and perhaps one or two plants. It does not work for the full accumulation of books acquired over twenty years, collections of sentimental small objects, and the miscellaneous items that have no other home.
Grouping and Visual Rhythm
Items on open shelves look better in odd-numbered groups (three, five) than in even numbers, because odd groupings read as more organic and less symmetrical. A group of three objects of different heights (a tall vase, a medium plant, a short bowl) creates visual interest without the rigid formality of a pair.
Color consistency reduces visual noise significantly. A shelf where every object is within a close color range (all white ceramics, or all natural wood tones, or all books with neutral spines turned forward) reads as unified rather than eclectic. The shelf with twelve objects in twelve different colors reads as chaos regardless of how carefully the objects were arranged.
The Maintenance Reality
Open shelving requires more maintenance than closed storage, and accounting for this before committing to it matters. Dust settles on open shelves in approximately the same time it settles on any horizontal surface, meaning the shelf needs dusting every one to two weeks, and every item on it needs to be moved to dust underneath it.
The shelf with thirty items takes considerably longer to maintain than the one with eight. This is the practical argument for the 40 percent rule beyond the aesthetic one: the shelf you can maintain in five minutes is the shelf that will actually stay looking good. The one that requires forty-five minutes to dust properly will inevitably be cleaned less frequently than it needs to be.
Seasonal Rotation
One approach that keeps open shelving from becoming permanently cluttered while still accommodating a reasonable number of objects: seasonal rotation. The objects displayed in winter rotate out in spring, replaced by a different small selection. Each rotation is an opportunity to reassess whether the items coming back out still warrant display or have been outgrown as preferences change.
This approach also keeps the shelving from becoming invisible: the objects that have sat in the same position for three years are no longer seen, having faded into the background. New arrangements bring the shelf back into awareness and make the home feel refreshed without any purchasing.
The same refresh approach applies to other visible surfaces in the home: less on display, regularly reconsidered, produces a more alive and less cluttered appearance than the static accumulation of everything at once.
Kitchens Specifically: The Case Against Open Pantry Shelves
Open shelving in kitchens attracts a particular kind of criticism that closed cabinet kitchens do not: every imperfect item, every mismatched container, and every momentarily displaced item is visible to anyone in the kitchen or adjacent living space. This visibility is the design intention, but it requires a standard of organization that most kitchens do not maintain in daily use.
The kitchen that adapts best to open shelving is one that has already reduced its pantry inventory to a curated set of consistent containers, uses decanted staples rather than manufacturer packaging, and maintains the organization as part of the daily kitchen reset. This is achievable but requires a specific kind of household commitment.
For kitchens that do not maintain this standard (which is most kitchens), a hybrid approach often works better: open shelves for the display-worthy items (a set of matching bowls, a few regularly used glasses, a plant), with closed cabinets below for the pantry inventory, cleaning products, and everything that works better behind a door.
What to Do With the Items That Come Off
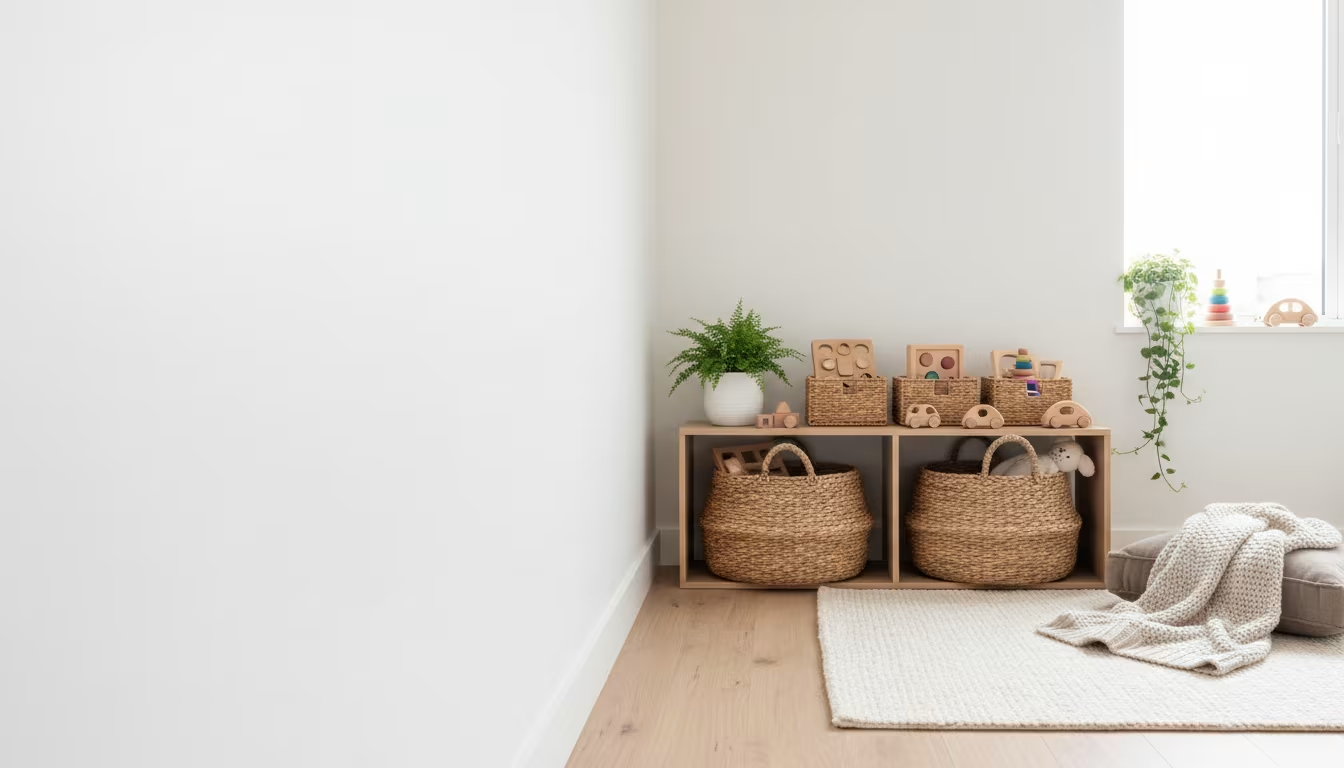
The items removed from overloaded open shelves need to go somewhere specific rather than migrating to another visible surface. The decision point: useful items that do not belong on display shelves go to appropriate closed storage (a cabinet, a drawer, a pantry). Items that were there because they had no other home prompt the more useful question of whether they belong in the household at all.
The open shelving edit often surfaces items that were sitting on the shelf because they were purchased, used once, and then placed back without a designated home. These are the primary candidates for removal rather than relocation.