
The small kitchen storage industry (the organizers, the drawer dividers, the cabinet door racks, the over-the-door systems) is built on the premise that the small kitchen problem is a storage problem. In most cases, it isn't. The small kitchen that's hard to cook in is usually a small kitchen with too much in it: appliances that don't get used, dishes for 12 in a household of two, a drawer of gadgets for cooking that doesn't happen. The editing problem is primary. The storage solution comes after.
Step 1: Edit Before You Organize
The organizing failure pattern is: buy organizers, put everything into the organizers, discover the kitchen is still hard to navigate because the volume didn't change. The organizer made the crowded drawer neater, not more usable.
Edit first. Pull everything from the kitchen and assess:
Appliances
anything not used in 90 days that doesn't serve a seasonal purpose exits. Duplicates exit. Appliances used once at purchase exit. What remains earns its space on the counter or in a cabinet based on frequency of use.
Dishes and glasses
count the realistic maximum number of people served at one meal in this kitchen. Add two to four for flexibility. That's the maximum per category. A kitchen in a studio apartment for one person does not need 12 dinner plates and 8 pasta bowls.
Cookware
one sauté pan, one stockpot or Dutch oven, one small saucepan, and one sheet pan covers most everyday cooking. The additional pieces beyond this core set should be assessed against actual use.
Gadgets and utensils
each gadget faces the same question: used in the past 90 days or seasonal? Duplicates of any utensil go. The drawer of gadgets that seemed useful at purchase and has never been touched since gets a hard review.
Counter Space: The Permanent vs. the Stored Rule
Counter space is the most valuable real estate in a small kitchen. In a large kitchen, a few underused counter appliances are an inconvenience. In a small kitchen, they eliminate working space entirely.
The rule for counter items: only what's used daily or near-daily earns a permanent counter position. A coffee maker used every morning earns it. A blender used twice per week might earn it, depending on counter size. A stand mixer used twice a month belongs in a cabinet.
The countertop that's clear except for one or two daily-use items is a functional cooking surface. The countertop with four appliances, a knife block, a fruit bowl, a container of utensils, and a dish drying rack is an obstacle course.
Cabinet Organization: Vertical Space and Zone Logic

Small kitchen cabinets work best when organized by zone (items used together stored together) and when vertical space is used rather than stacked depth.
A cabinet shelf with a second shelf tier (a simple riser) turns one shelf into two usable levels. Pots stored with lids removed and nested (lids stored vertically in a lid organizer or in a slot between the pot and the cabinet wall) reduce the footprint by 30 to 40% compared to pots stored with lids on.
Zones that help in a small kitchen: the cooking zone (pots, pans, and frequently used spices near the stove), the prep zone (cutting board, knives, and common prep tools near the counter space used for chopping), the serving zone (plates, glasses, and serving pieces near the dining area or table).
Drawer Strategy: One Purpose Per Drawer
Drawers with multiple unrelated categories produce the "I can never find anything" problem. One purpose per drawer eliminates it.
Drawer categories that work: utensil drawer (spatulas, tongs, ladles, nothing else), knife drawer or block (knives only, with a bamboo insert to protect blades), gadget drawer (peeler, can opener, grater, and the specific items used regularly, not a catch-all), and a junk drawer that's separate from the kitchen function drawers.
A kitchen with four clearly-purposed drawers where everything in each drawer belongs there is easier to navigate than a kitchen with four mixed drawers that require searching.
The Pantry in Small Spaces
Pantry organization in a small apartment kitchen typically means one or two cabinets rather than a dedicated pantry room. The principles are the same: first in, first out rotation, categories grouped together, and the capsule pantry model (30 to 40 staples that support a week of cooking) rather than the "stock up everything on sale" model that produces overstuffed cabinets.
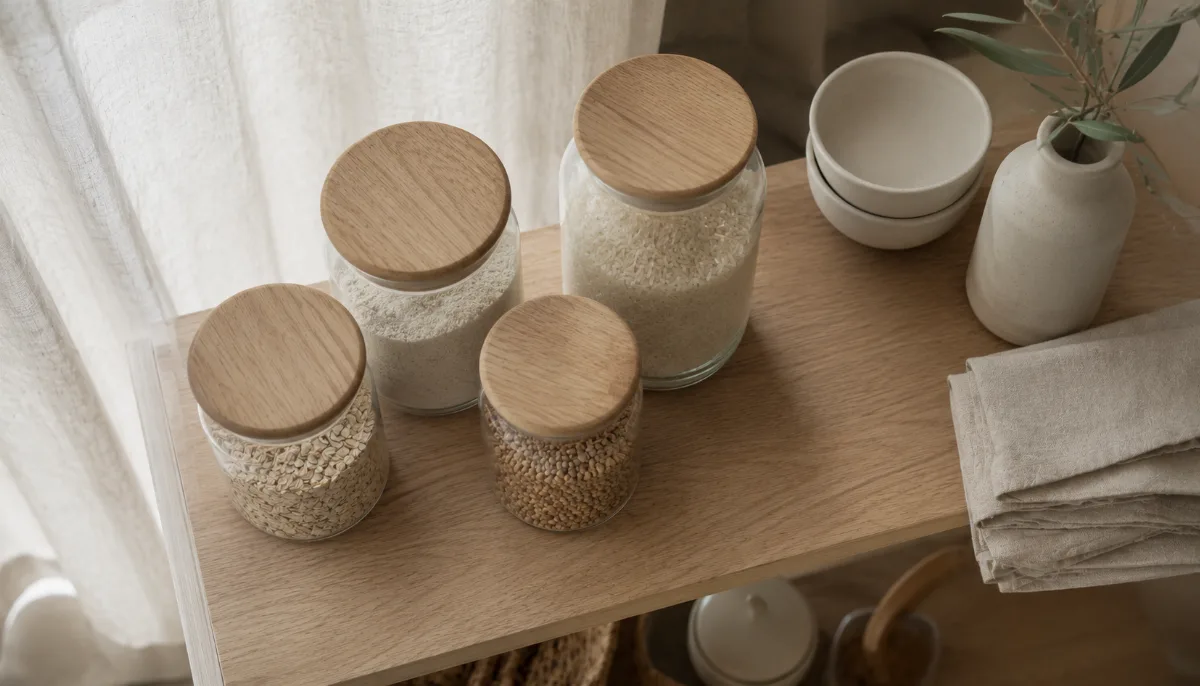
A lazy Susan on a deep pantry shelf converts the hard-to-reach back of the shelf into accessible space. Decanted dry goods (pasta, rice, lentils, oats) in clear containers with labels take slightly more effort to set up but significantly reduce the time spent searching for what's available.
See also: capsule pantry guide and one-in-one-out rule for kitchen gadgets.
The Maintenance System: Keeping the Kitchen Edited Over Time
A kitchen edited down to functional essentials doesn't stay that way without a maintenance system. Gifts arrive. New cooking interests bring new tools. Items accumulate at the path of least resistance: the nearest flat surface, the front of the nearest drawer.
The maintenance system is simple: one-in-one-out for any new kitchen item, and a 15-minute quarterly audit that identifies any item that's migrated to counter or drawer without being used. The audit takes less time than cooking a meal and prevents the six-month drift back toward the previous state.
A well-organized small kitchen is not a one-time project. It's a maintained system that requires small, consistent interventions to stay functional. The quarterly audit is the minimum recurring investment to protect the one-time editing work. Without it, the editing work undoes itself.
The Deep Drawer Problem
The deep drawer is the most common small kitchen problem after the crowded counter: a drawer that holds a jumbled mix of items at varying depths, where finding anything requires moving everything else. The solution is not more organizers inside the drawer. It's reducing the drawer's contents until the organizer isn't necessary.
A deep kitchen drawer holding 8 items, each retrievable without moving another, is functionally superior to a deep kitchen drawer holding 20 items in a tiered organizer. The organizer adds complexity to a volume problem. The editing solves it directly.
The small kitchen that's been through a genuine editing process produces a different cooking experience than the small kitchen that's been through an organization process. Organizing rearranges the same volume. Editing reduces it. The kitchen that has less in it is easier to clean, easier to navigate during cooking, and easier to maintain at its organized state, because there are fewer things that can be out of place.